If you're a makeup lover, you've probably heard of the Madluvv Brow Stamp™ Kit. If you're new to the world of brow stamps, it can be a bit intimidating to get started. Luckily, our Madluvv team is made up of brow experts who have all the tricks of the trade and have mastered the Brow Stamp from choosing the right shade to application and beyond. We’ll go over the basics of the Brow Stamp™ as well as some tips and tricks to help you get the most natural-looking results. By the end of this post, you’ll be a Brow Stamp™ Kit aficionado and have the tools to create perfect brows every day of the week.
Choosing the right shade:
We want to make your choice as easy as possible which is why we created a Brow Stamp Quiz. Using this test, you can find your perfect shade in a matter of minutes. Still unsure after taking it? No problem. Email a photo of yourself to info@madluvv.com and our brow specialists will color match your brows to one of our 9 universal shades.

Picking your stencil:
Each Brow Stamp™ Kit comes with 6 different stencils so everyone can find one that fits them best. We suggest choosing one that is closest to your existing brow shape for the most natural look possible. Don’t have any existing eyebrows? Choose whichever stencil is your desired shape and you’re good to go.

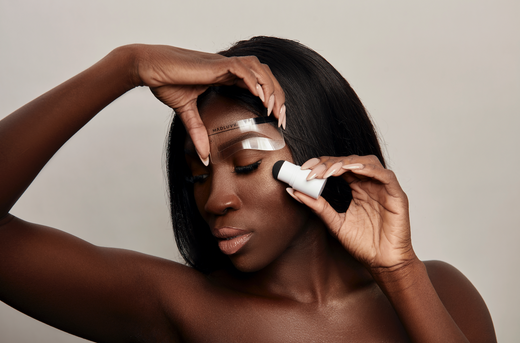
Getting the perfect application:
Our Brow Stamp™ is meant to be applied from back to front for the most natural look. Once you line your stencil of choice up with your brow, start stamping at the tail and stop in line with the front of your natural brow. For the ombre look, stamp lighter at the front of your brow. Use the spoolie that comes with the kit to blend them further.

Getting more pigment out of the sponge:
Did you know that the product is actually in the cap of the Brow Stamp™, not the sponge itself? Upon receiving your stamp, break up the first layer of product by rolling/twisting the sponge inside the cap. Do this same rolling/twisting motion each time you need more product and you’ll have plenty to work with time and time again.

Have more questions about how to use your Brow Stamp™ Kit? Email info@madluvv.com and we will gladly help you with any questions or concerns you may have.


